 Photoshop
 Illustrator
 After Effects
 Figma
 Affinity
How to make a stencil effect in Photoshop
Turn any photo into flat, grainy stencil art with tools already in Photoshop. Three steps, with every setting.
By a2can3
Updated November 6, 2026. Works in Photoshop CC and later.
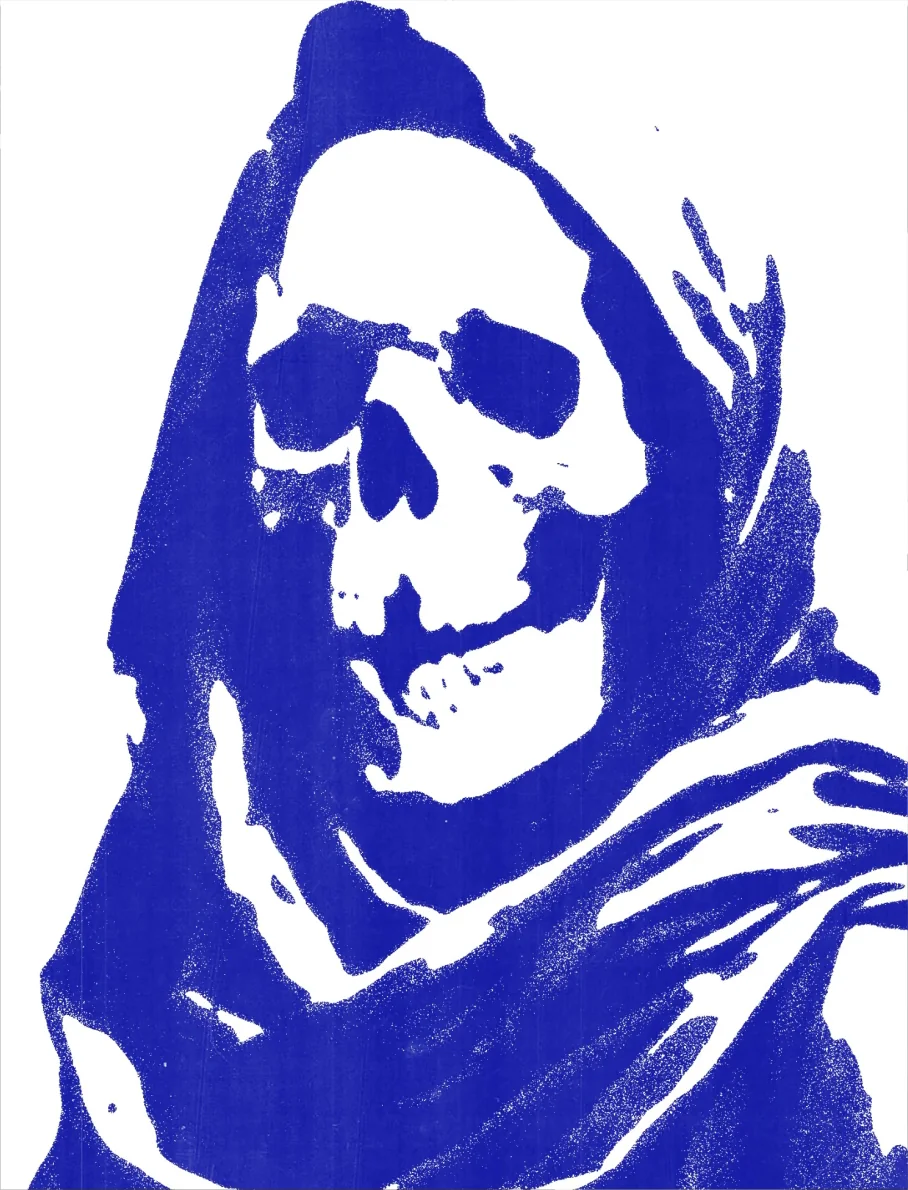
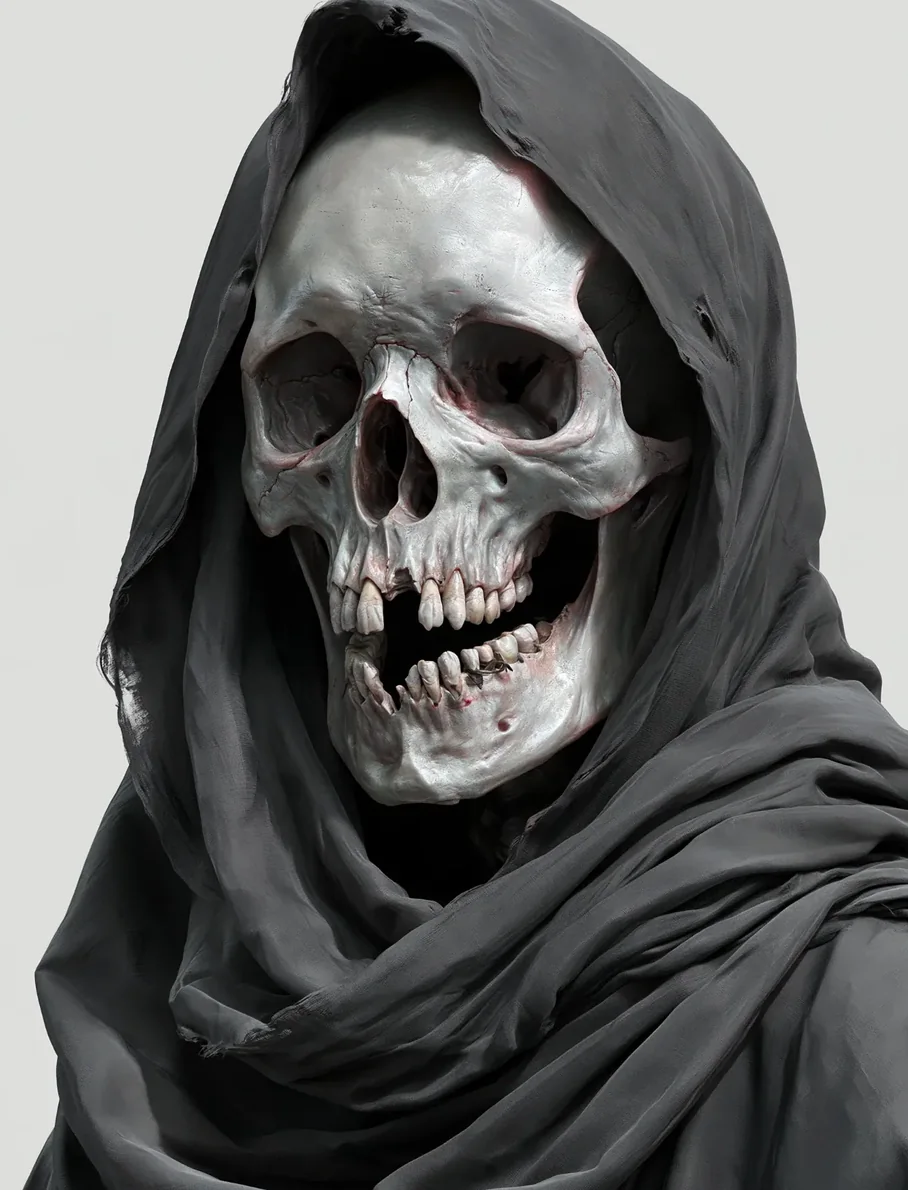
To make a stencil effect in Photoshop, blur the photo with Gaussian Blur, then stack Diffuse Glow and Torn Edges in the Filter Gallery to cut it into flat black and white shapes with grainy edges. Add a Gradient Map to set the paint color and put a dark texture on top in Screen mode. If you want it as one effect you can keep changing, Nexus has a Stencil effect that works as a Smart Filter.
- Steps
- 3, with a video
- Filters
- Gaussian Blur, Diffuse Glow, Torn Edges
- Color
- Gradient Map adjustment layer
- Texture
- Any dark texture, in Screen mode
- Works in
- Photoshop CC and later
- Plugin version
- Stencil effect in Nexus
Watch the tutorial
The whole method in under 30 seconds. Every value is written out below.
What makes a stencil look real
A stencil can only do two things: paint or no paint. There are no midtones, so the picture has to survive as flat shapes. Pick a photo with strong light and dark, like a face lit from one side.
Step 1: Blur the photo
- Drag your image into Photoshop. It lands as a Smart Object, so every filter you add stays editable.
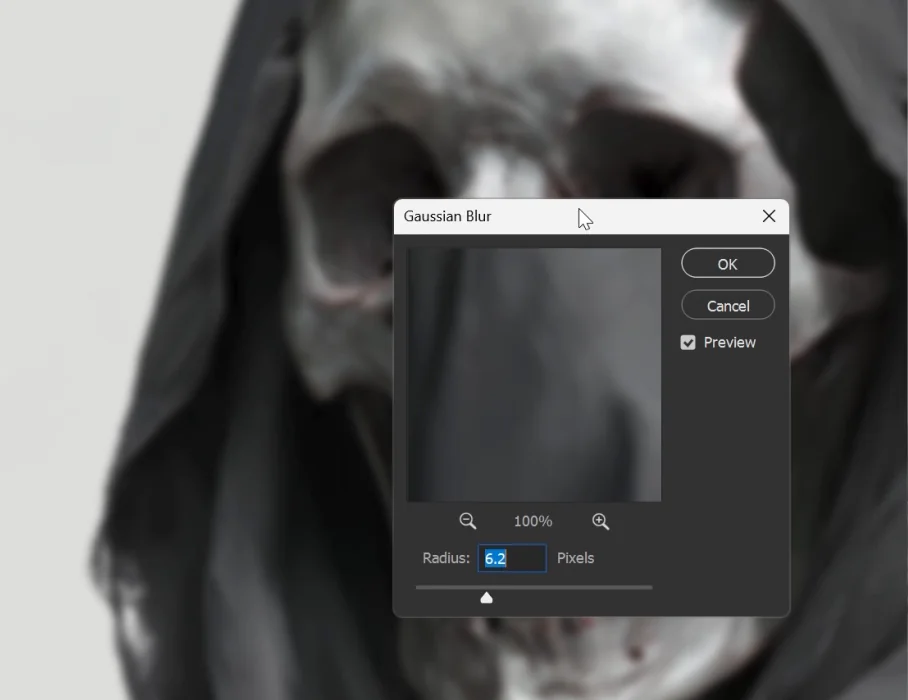
- Go to Filter > Blur > Gaussian Blur.
- Set the Radius. I used 6.2 pixels.
This step decides how much detail makes it through. A higher radius gives you fewer, bolder shapes. A lower one keeps more of the picture.
Step 2: Cut the shapes
Go to Filter > Filter Gallery. You're going to stack two filters here.
Diffuse Glow, for the grain
Open the Distort folder and pick Diffuse Glow. Set Graininess 10, Glow Amount 6 and Clear Amount 20. That grain is what breaks up the edges in the next filter.
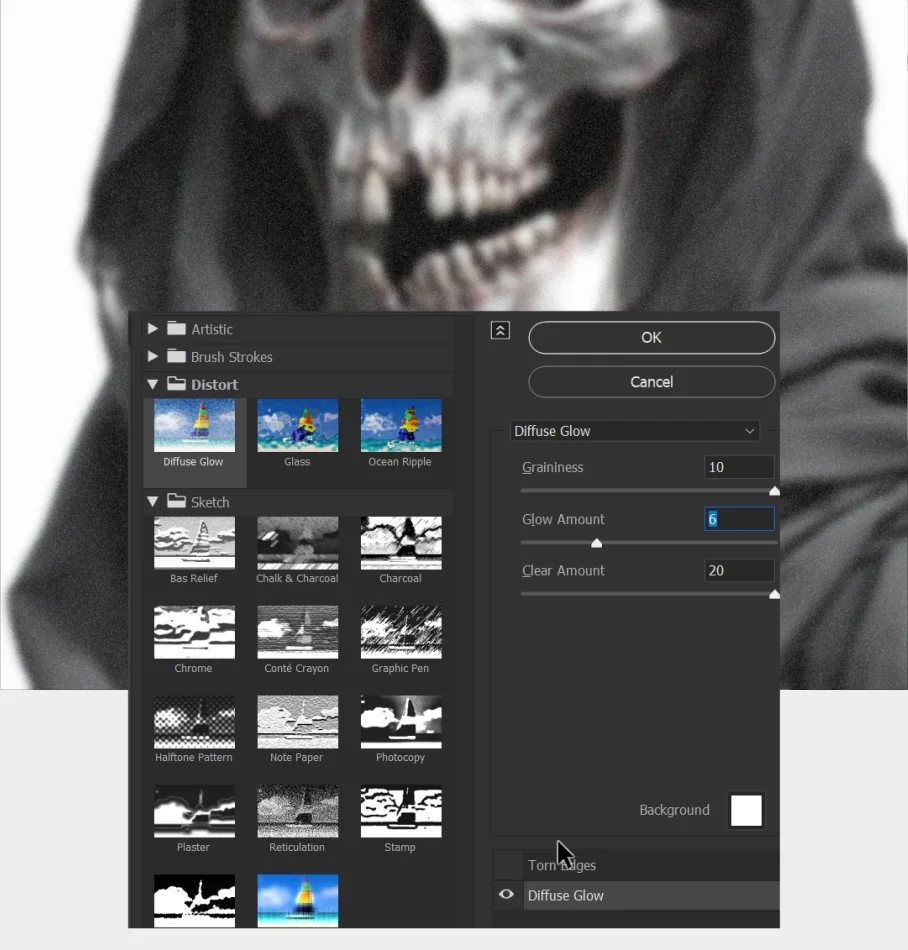
Torn Edges, for the cut
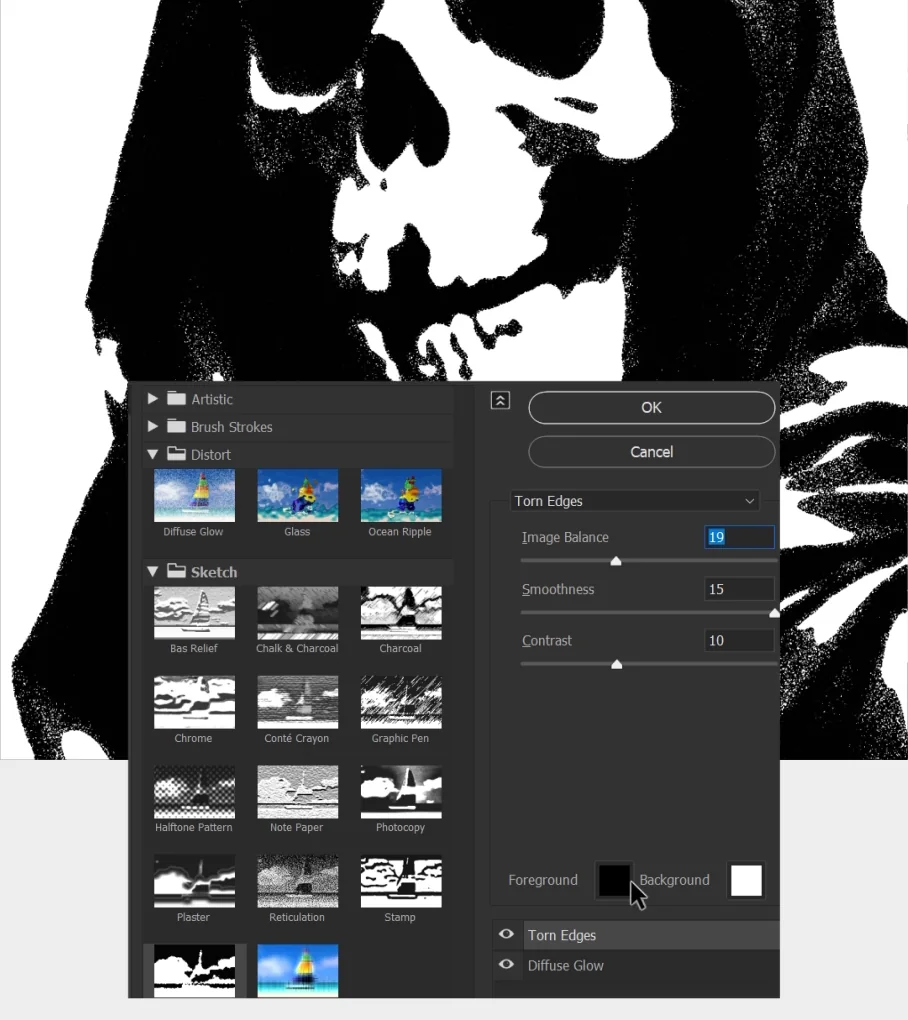
Click the New effect layer button at the bottom right of the dialog, so the next filter stacks on top instead of replacing this one. Then open the Sketch folder and pick Torn Edges.
Set Smoothness 15 and Contrast 10, with Foreground black and Background white. Then move Image Balance until the shapes read. I ended on 19.
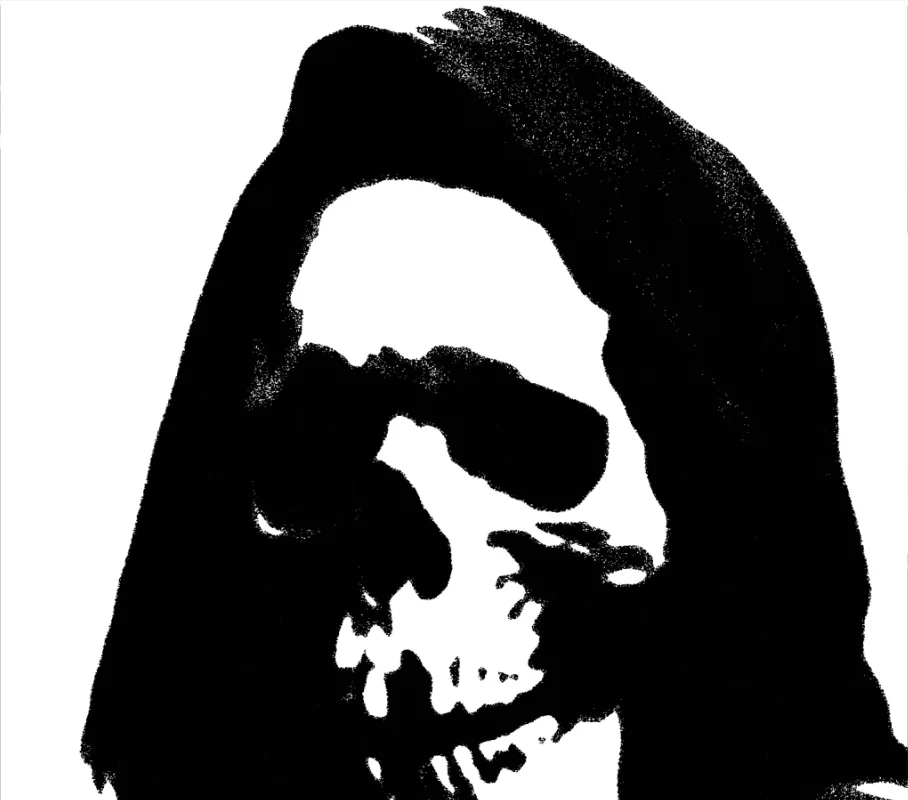
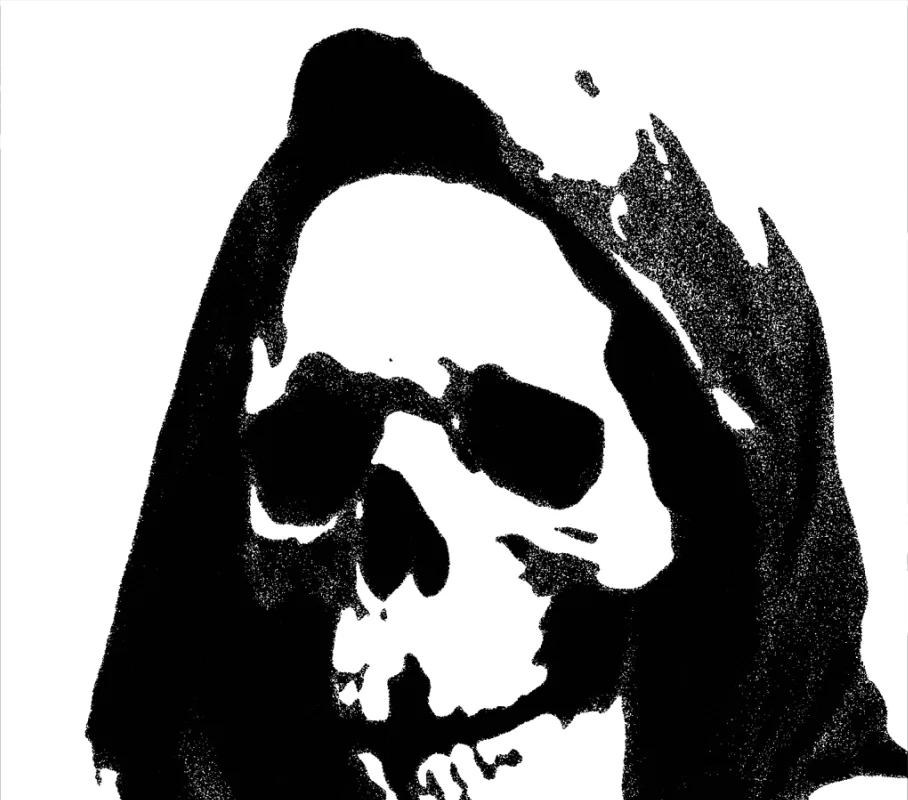
Image Balance is the slider to spend your time on. Lower it and more of the picture opens up to white. Raise it and more goes to solid black.
Step 3: Add color and texture
Gradient Map, for the paint color
- Add a Gradient Map adjustment layer above your image, from the Adjustments panel or Layer > New Adjustment Layer.
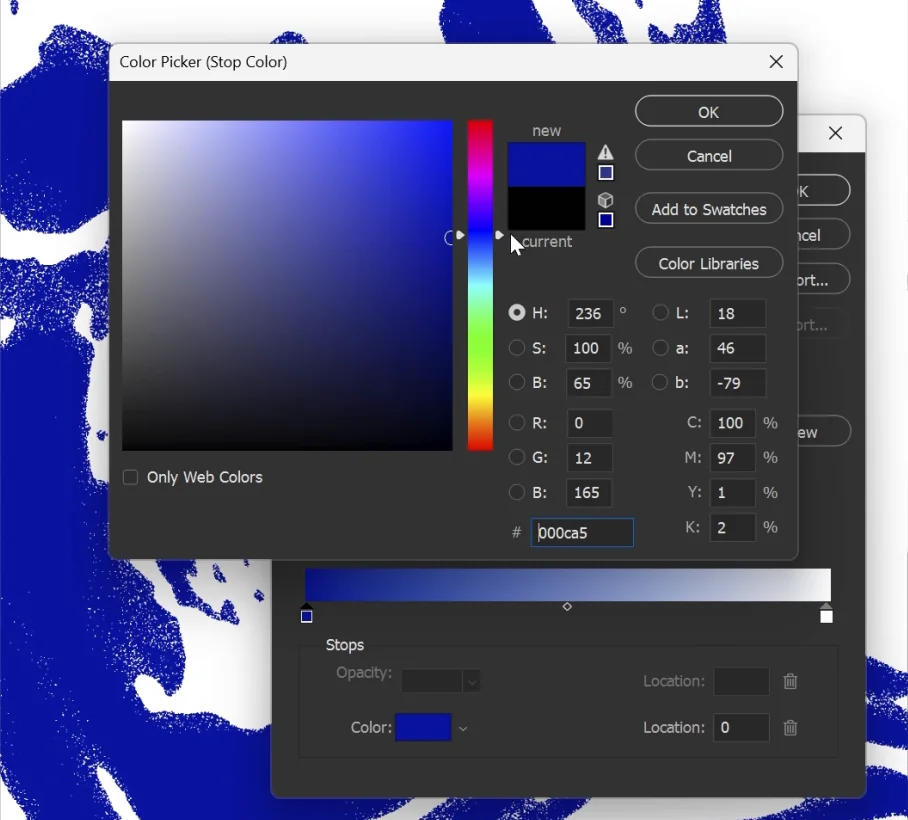
- Click the gradient to open the editor, then double-click the black stop on the left.
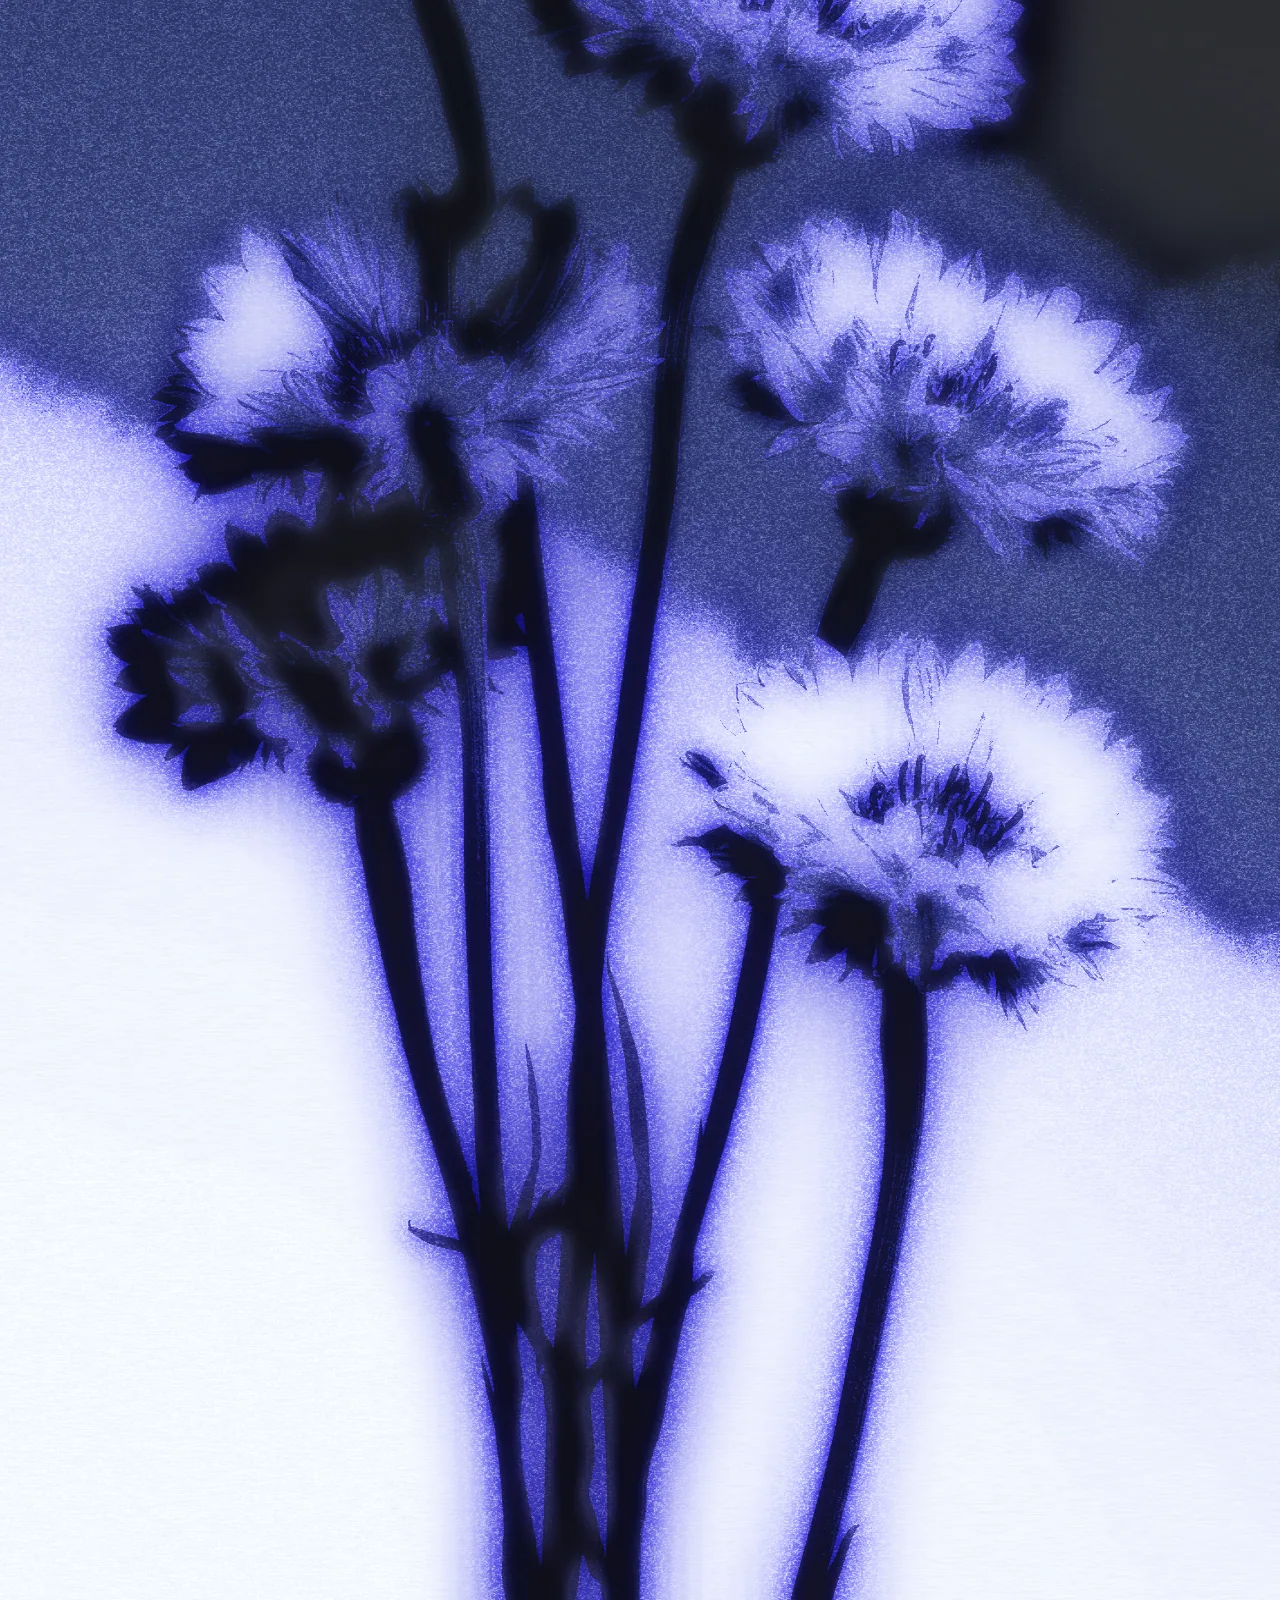
- Type your paint color. I used #000ca5, a deep blue.
- Leave the white stop white for white paper.
The left stop is your paint and the right stop is your paper, so this is where you try other colors.
A dark texture, for the dirt
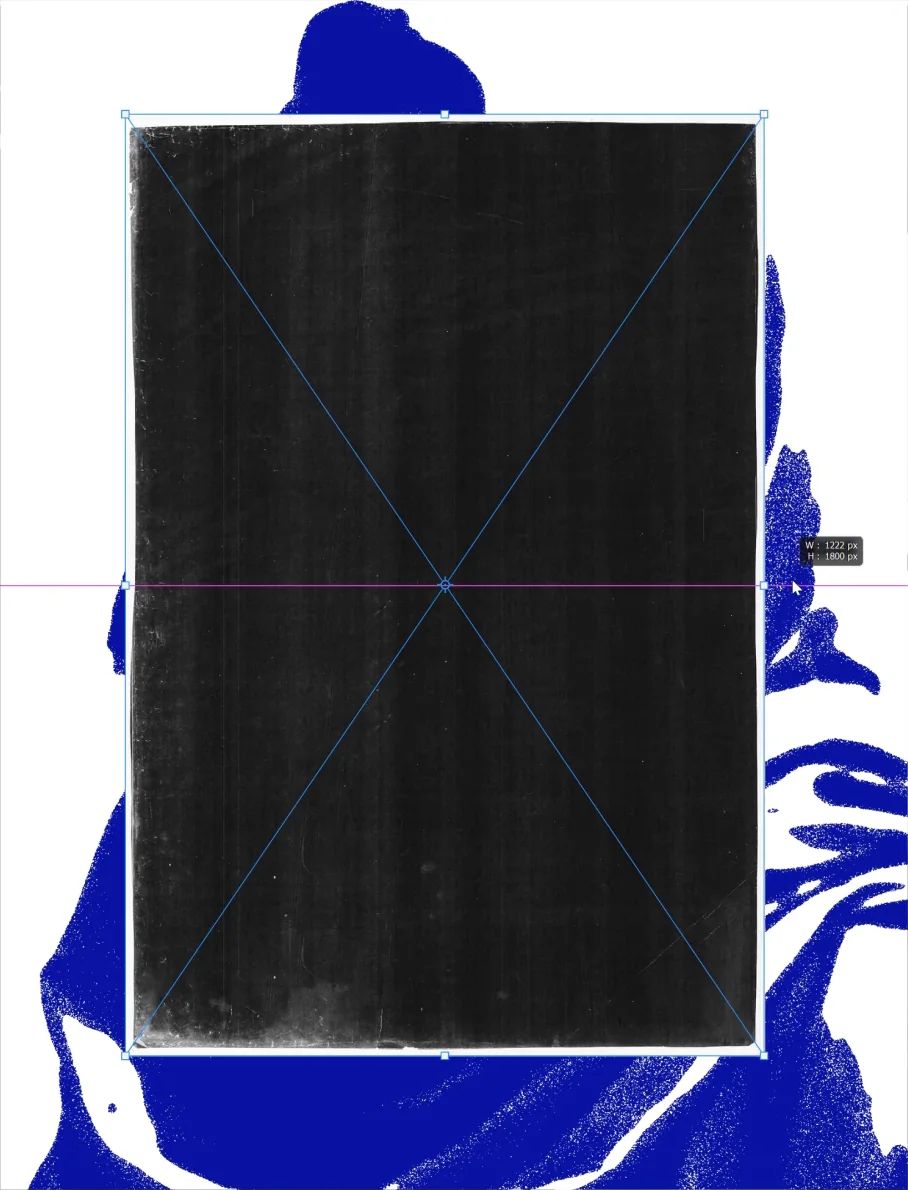
Drag a dark texture on top of everything and fit it to the canvas. A scan of a dark photocopy or old paper works well. Then set the layer's blend mode to Screen.
Screen drops the black of the texture and keeps its light marks. They show up inside the paint, while the white paper stays white.
Every setting in one place
These numbers suit the file in the video. Gaussian Blur and the Filter Gallery both work in pixels, so the same values look finer on a bigger file. Start by raising the blur.
- Gaussian Blur
- Radius 6.2 pixels
- Diffuse Glow
- Graininess 10, Glow Amount 6, Clear Amount 20
- Torn Edges
- Image Balance 19, Smoothness 15, Contrast 10, Foreground black, Background white
- Gradient Map
- Left stop #000ca5, right stop white
- Texture layer
- Blend mode Screen
If it doesn't look right
- Too much detail, the shapes look busy
- Raise the Gaussian Blur.
- Shapes melting into one black blob
- Lower Image Balance, or lower the blur.
- Mostly white, the face disappears
- Raise Image Balance.
- The second filter replaced the first
- Use the New effect layer button before you pick Torn Edges. You should see both listed at the bottom right of the dialog.
- Filter Gallery is grayed out
- Your file is probably 16-bit. Go to Image > Mode > 8 Bits/Channel.
- Torn Edges comes out in odd colors
- It paints with your foreground and background colors. Press D to reset them to black and white, then open the filter again.
- You want to change something later
- Double-click Filter Gallery or Gaussian Blur under your photo in the Layers panel. Double-click the Gradient Map to change the color.
Is there a stencil plugin for Photoshop?
Yes. Nexus is a plugin with a Stencil effect that does all of this as one Smart Filter. You move the controls and see the result, and you can double-click it later to change anything.
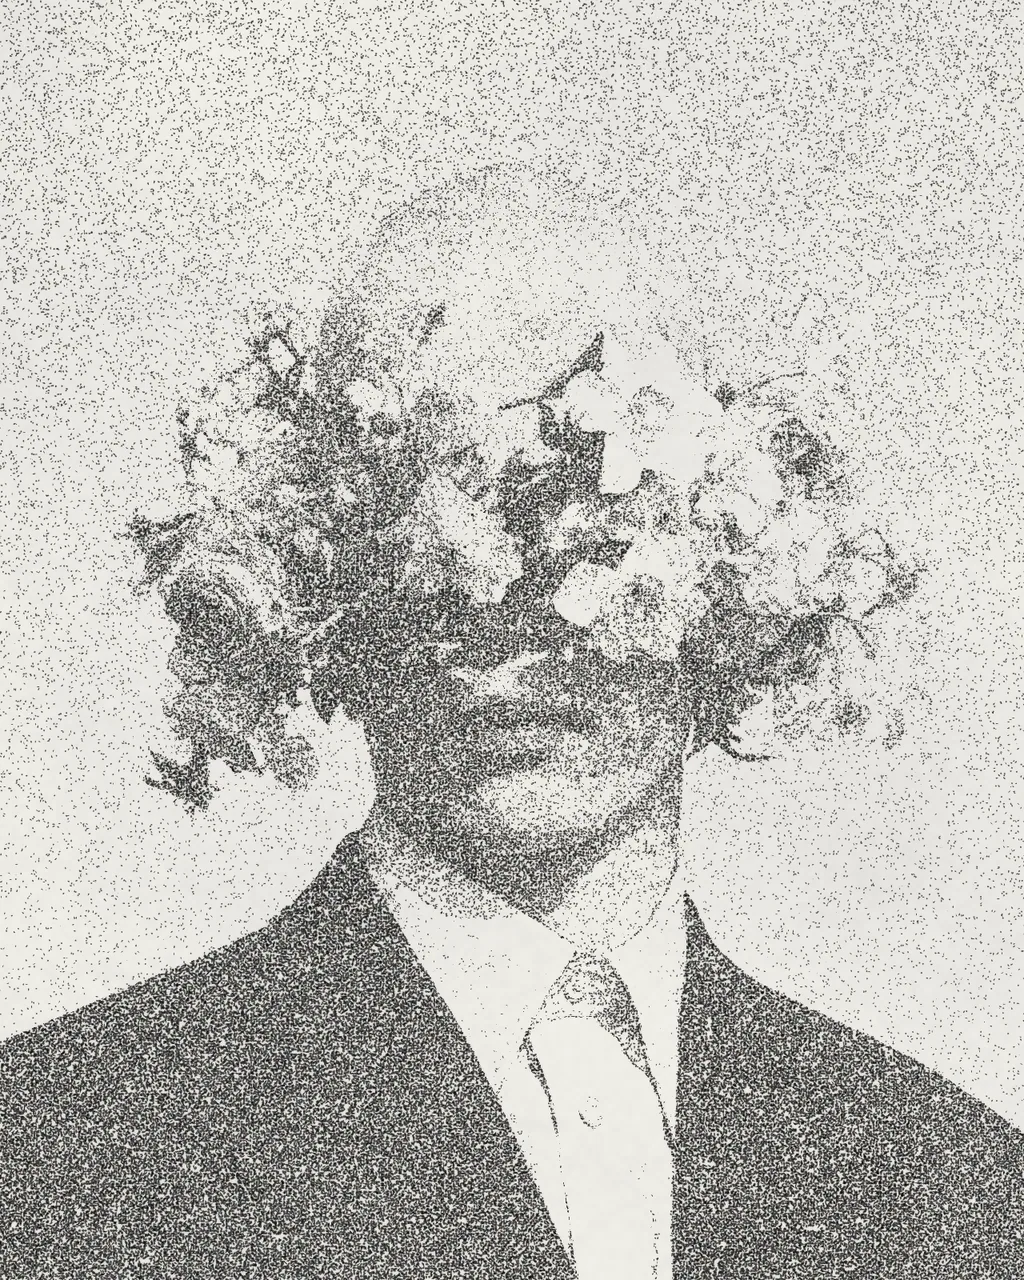
See the Stencil effectBy hand
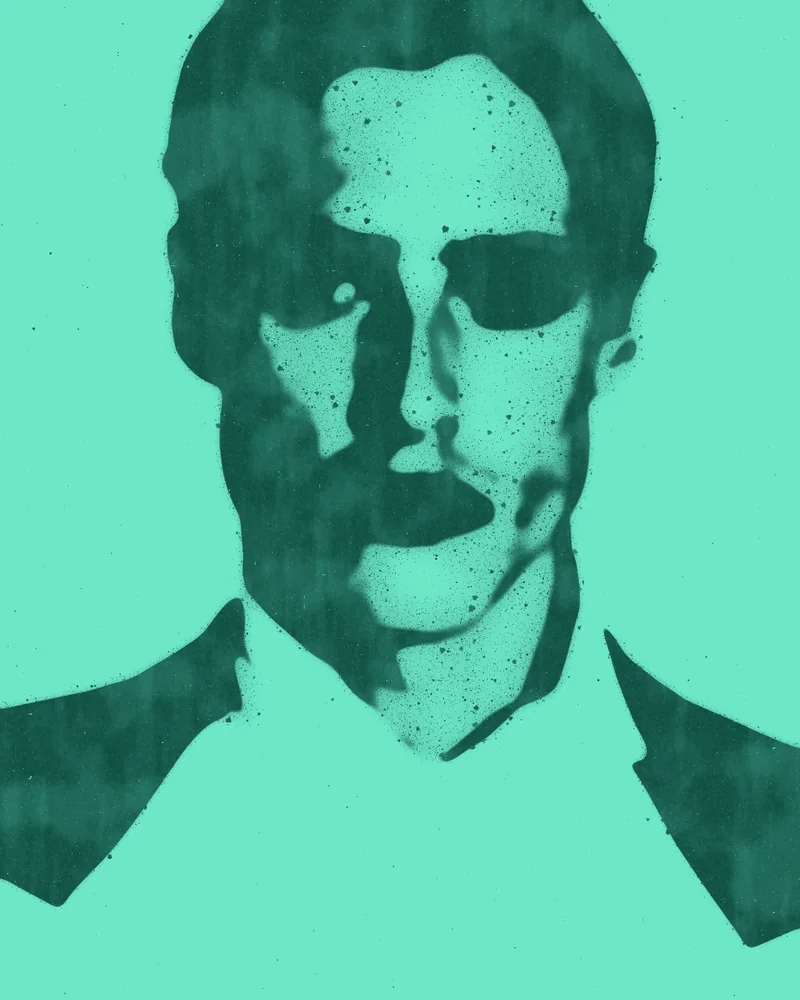
A hard, grainy, photocopied edge.
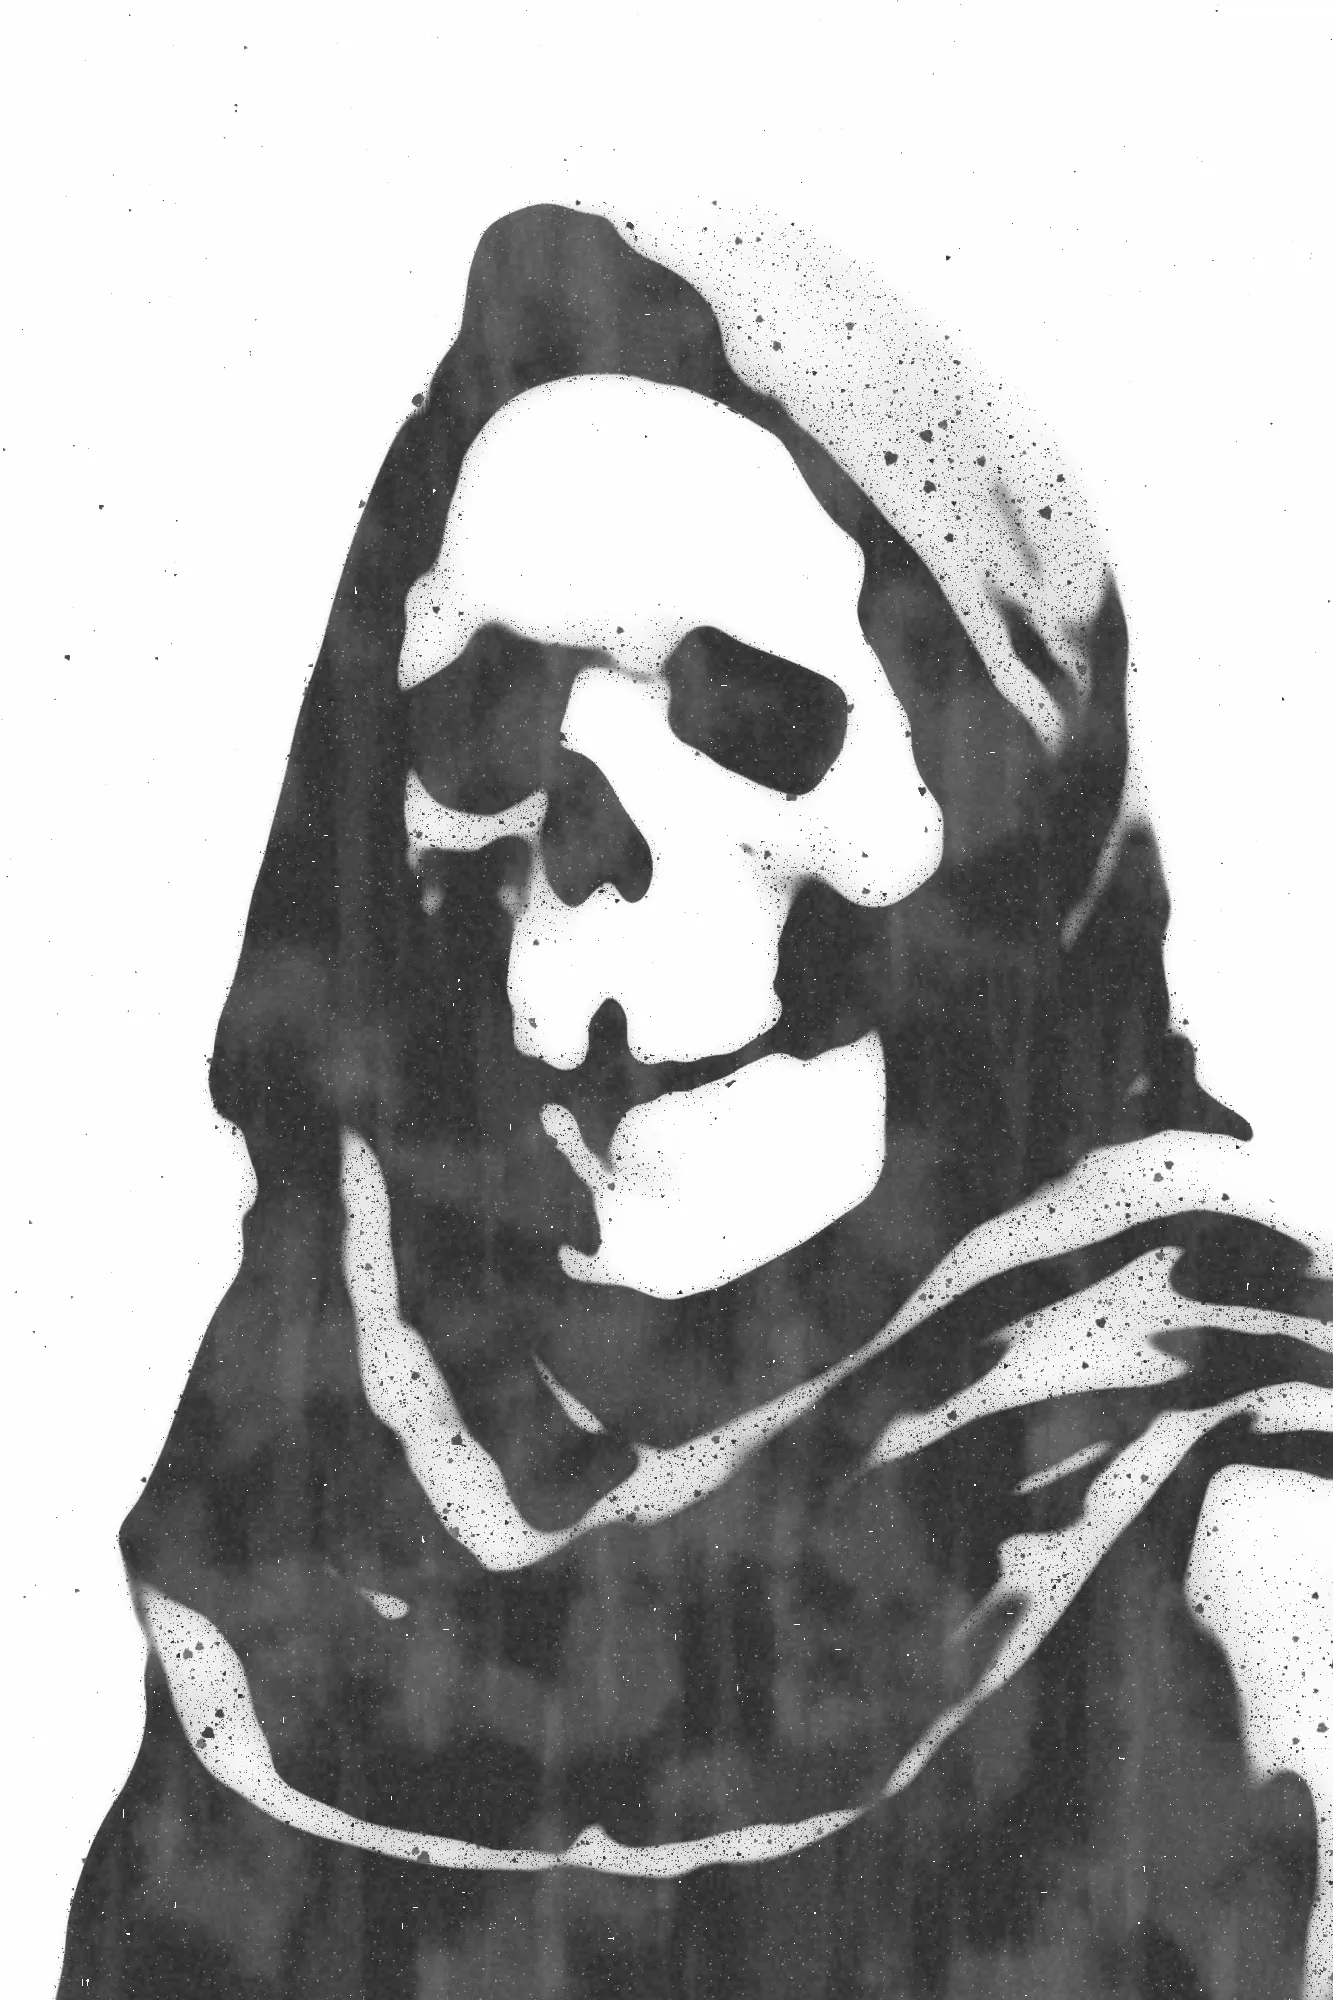
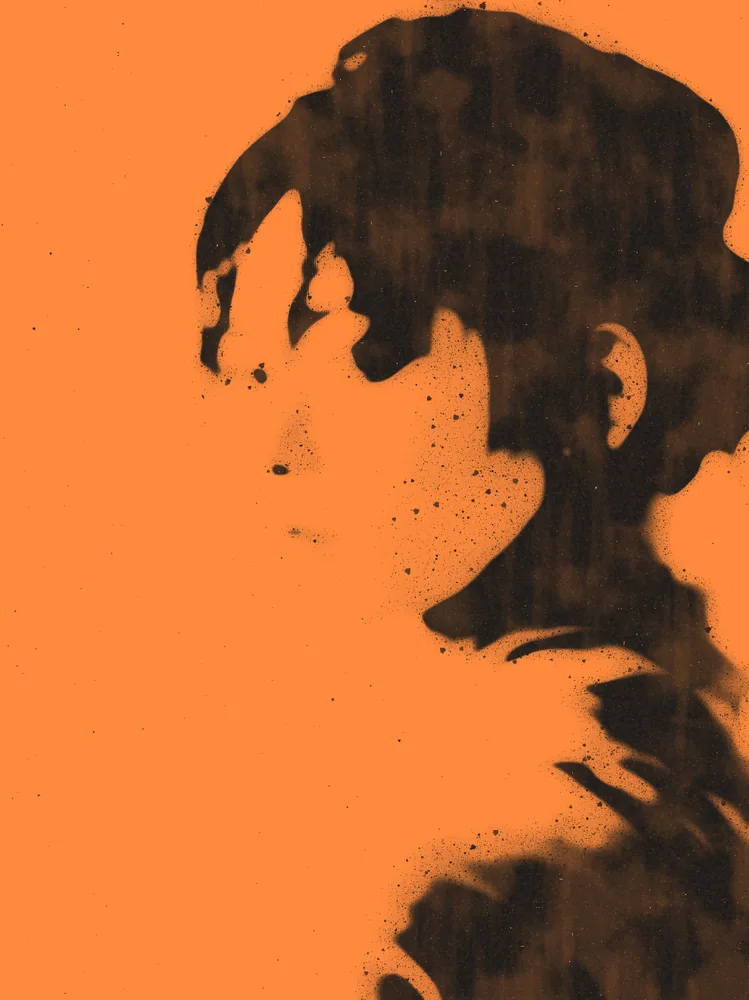
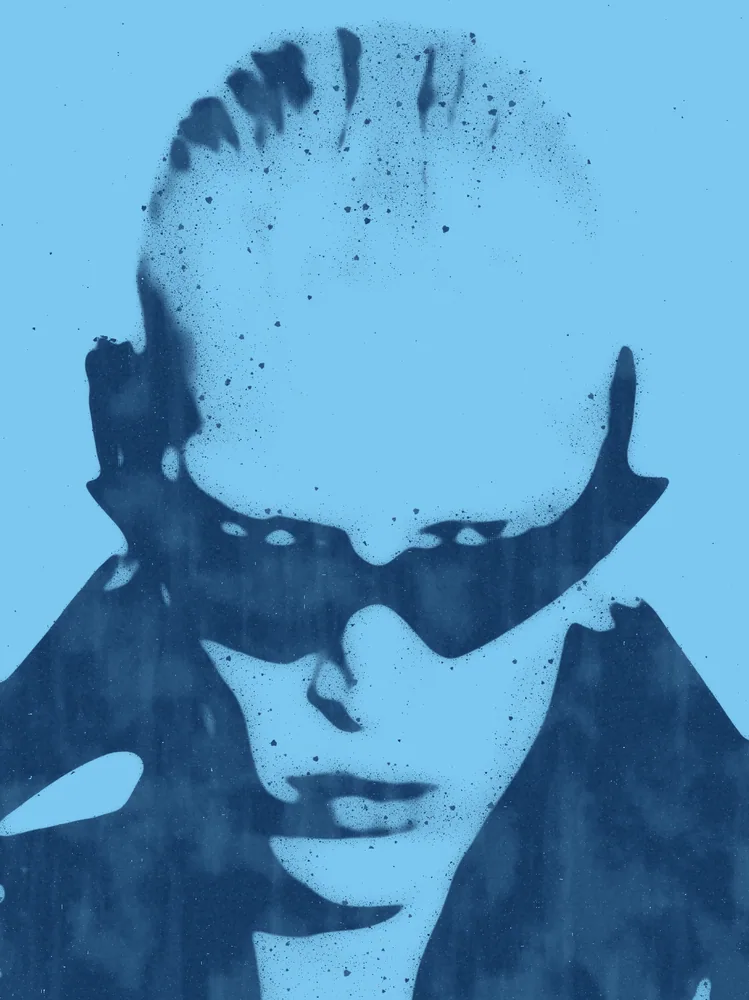
The Stencil effect in Nexus
Sprayed, with mist, speckle and droplets around the shapes. This is its starting dark gray paint.
Your steps, as its controls
- Gaussian Blur
- Blur Before Cut softens the picture before it is cut into shapes.
- Image Balance
- Threshold moves the cut between paint and paper.
- Gradient Map stops
- Paint and Paper take any color.
- Not in the steps above
- Overspray adds the soft mist of paint around every shape. Transparent Background drops the paper so only the paint is left.
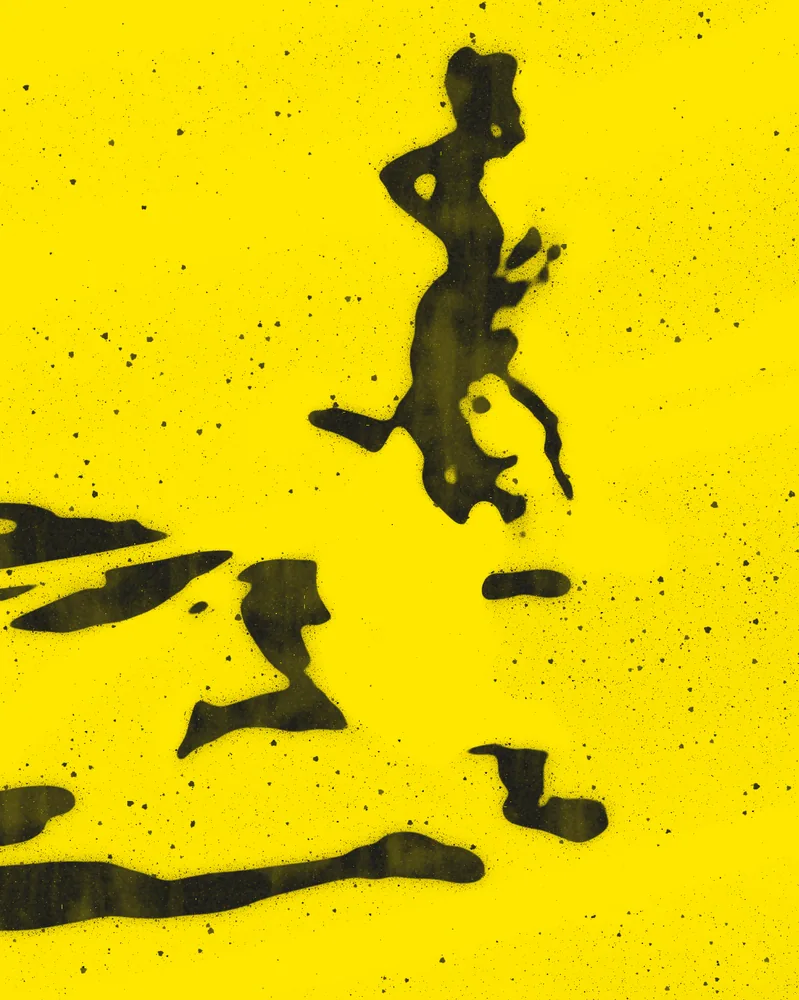
Nexus for Photoshop
Apply it as a Smart Filter on a Smart Object, then double-click to change it.
The plugins are free with an account. Paid plans add bigger renders and your own effects. See pricing
Questions, answered
Photoshop has no filter called Stencil. The cut comes from Torn Edges in the Filter Gallery, under Sketch, with Gaussian Blur and Diffuse Glow getting the picture ready first.
Blur it with Gaussian Blur, stack Diffuse Glow and Torn Edges in the Filter Gallery, add a Gradient Map for the color, then put a dark texture on top in Screen mode.
You can. Threshold also splits a picture into black and white, but on its own the edge comes out clean. Torn Edges over Diffuse Glow is what gives you the rough, grainy edge.
The blur is too low for the size of your file. Raise the Gaussian Blur radius until the small details are gone, then move Image Balance again.
Double-click the Gradient Map. The left stop is the paint and the right stop is the paper, so you can set both to any color.
Yes. Nexus is a plugin for Photoshop, After Effects, Illustrator, Affinity and Figma with a Stencil effect. In Photoshop it lands as a Smart Filter, with controls for the blur, the cut, the overspray, the paint and the paper.